/
Create New Products
Create New Products
- Leon Lu
- Sandra Petrovic
Owned by Leon Lu
Last updated: Oct 26, 2020 by Sandra Petrovic
Step-by-step guide
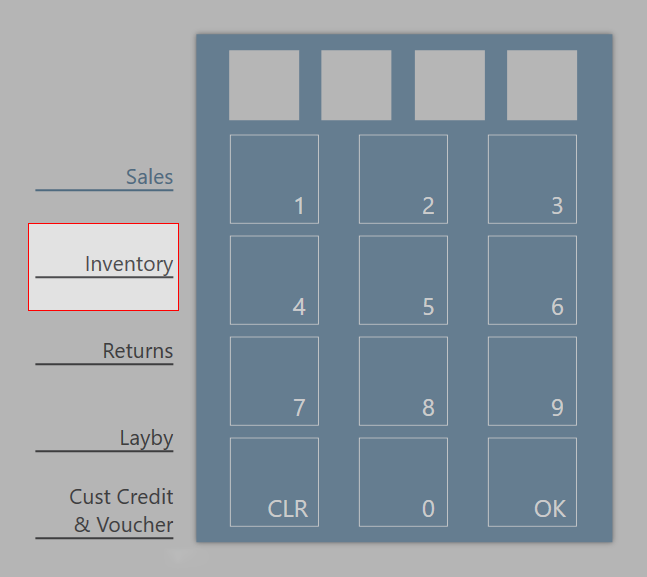
Accessing Create New Products in POS
- Click on Inventory
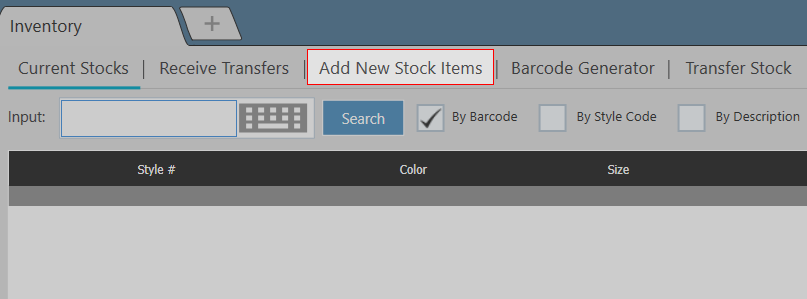
- Click on the tab "Add New Stock Items"
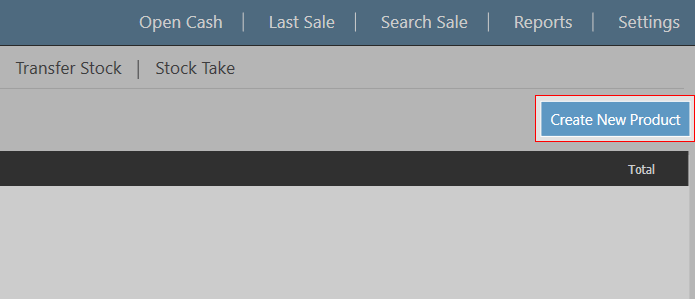
Create New Product
- Click on Create New Product in the top right of the screen
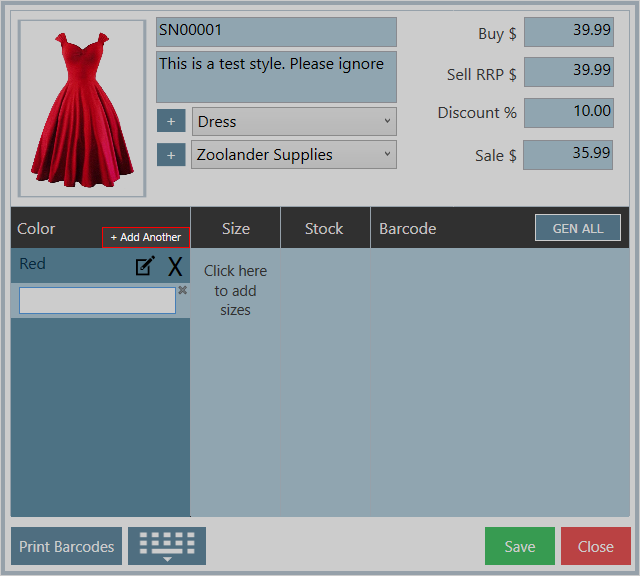
- The Create New Product screen is displayed
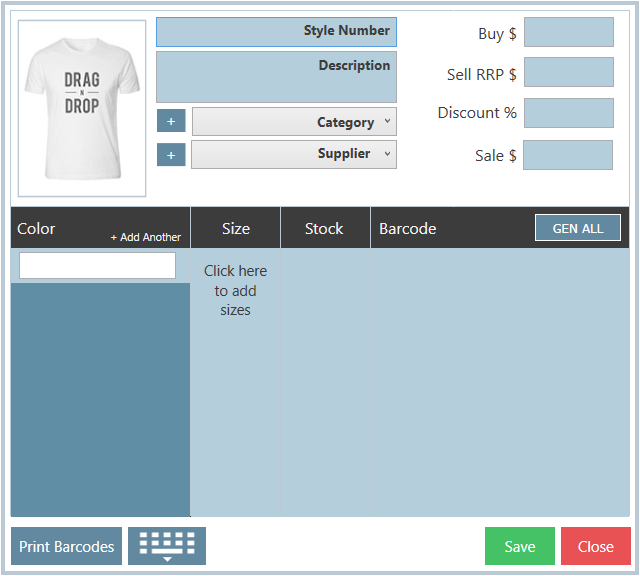
- Fill out (where appropriate)
- Style Number
- Description
- Buy Price
- Sell RRP
- Discount %
- Sale Price
- Drag and drop an image onto the box in the top left
- Either select a category from the first drop down, or click on the + button to create a new category
- Either select a brand from the second drop down, or click on the + button to create a new brand
- Add New Colours
- In the Color column, enter a colour in the text box and press enter/return on your keyboard
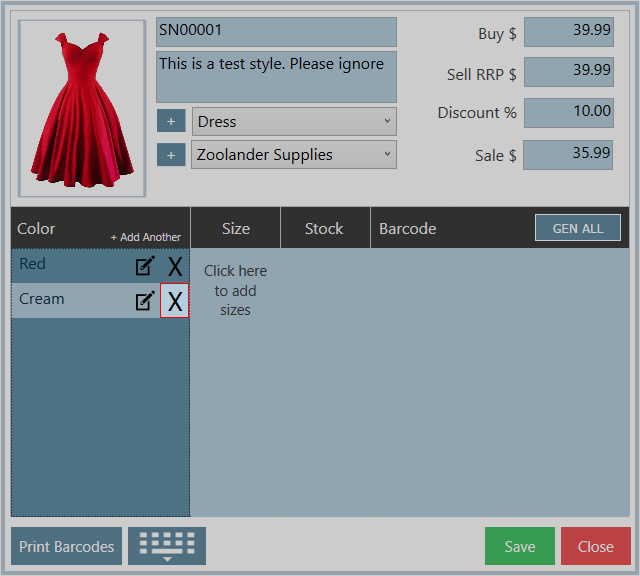
- If you wish to enter another colour, a new box will appear underneath the first colour where you should enter your second colour selection. Alternatively, click + Add Another
- To delete a Color click on the X to the right of the color
- To edit a colour, click on the Edit icon
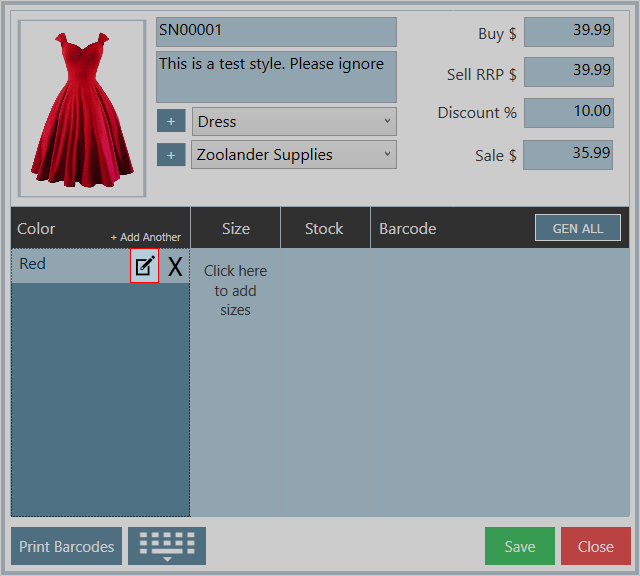
- Make the changes in the white box that appears
- Press Enter/Return to save the changes
- Add a New Size
- Click on Add new Size on the bottom of the screen
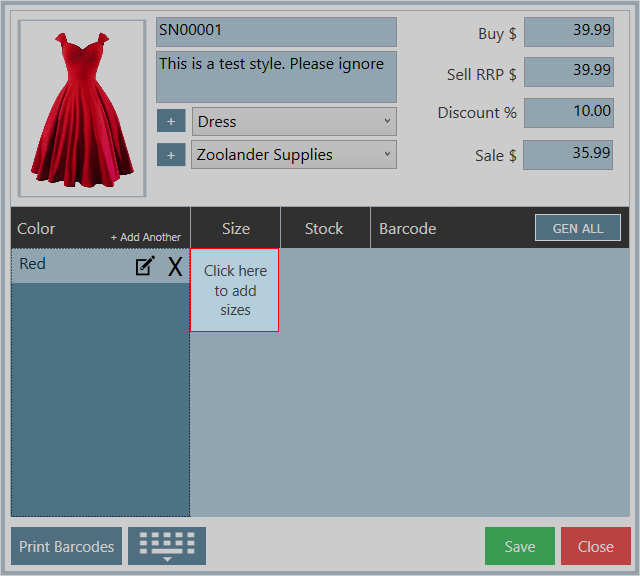
- Choose the size range from the list
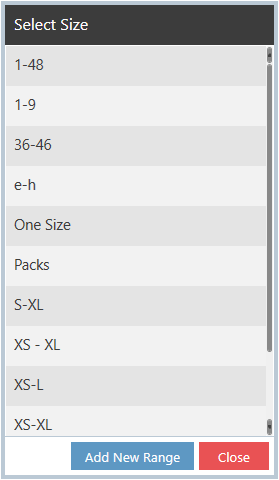
- If the desired size range isn't in the list, you will need to add a new size range
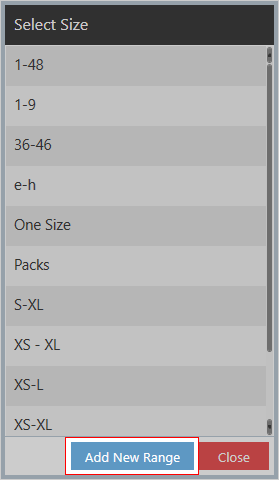
- Click on Add new Size on the bottom of the screen
- To add a New Size Range, click Add New Range
- You will need to enter a name for the range in the Size Range Name text box. Usually people like to enter the size range as the title.
- Next, you need to enter all the individual sizes within the size range. Click the + button, and a text box should appear under the heading Populate Individual Sizes. You will enter the first size in your range, and then click the + button to enter the next size. Repeat this process until all sizes within the range have been entered
- Click Add
- You will return to the Select Size list and you will notice the size range you have added has been added to the list
- To add quantities for the new style, enter quantities in the white boxes to the right of the sizes
NOTE: Before adding stock quantity, you must have already entered the size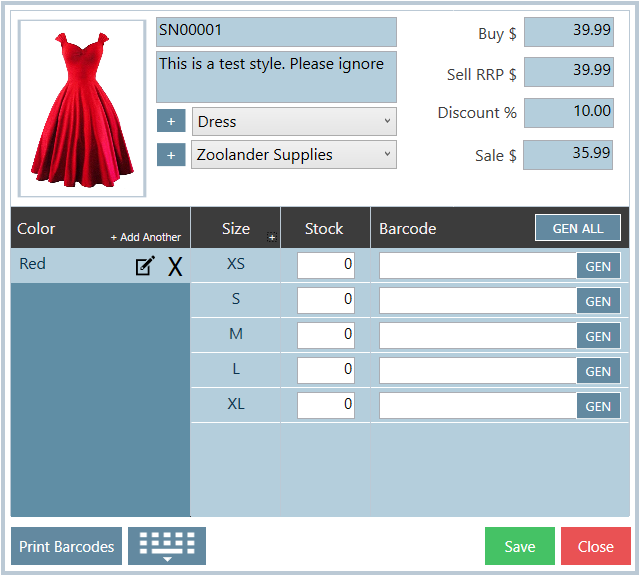
NOTE: For styles with more than one colour, you will need to enter quantity amounts for both colours. Click on one colour to enter the first set of stock quantities, and then click on the next colour to enter the next stock quantity. - Save the new style by clicking on Save in the bottom right.
Related articles
, multiple selections available,
Related content
Creating Your First Collection
Creating Your First Collection
More like this
Editing Basic Product Information: Line Name, Division, Brand, Season, Size Range, and Category for Products
Editing Basic Product Information: Line Name, Division, Brand, Season, Size Range, and Category for Products
More like this
How to Create a Purchase Order from Product Search
How to Create a Purchase Order from Product Search
More like this
Creating a Purchase Order
Creating a Purchase Order
More like this
Creating a Stock Sales Order
Creating a Stock Sales Order
More like this
Adding Stock to Warehouse
Adding Stock to Warehouse
More like this