How To Use The Website Updater
- Sandra Petrovic
Step By Step
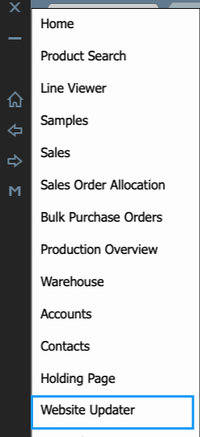
1. To open up the Website Updater, click on the right arrow and select 'Website Updater'
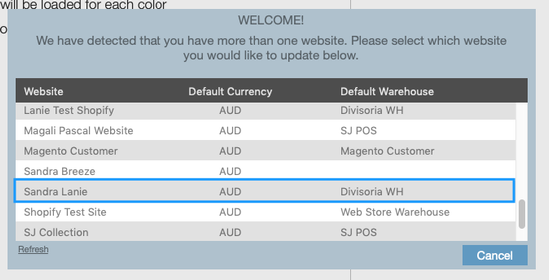
2. A pop up screen will appear, please select the website you need to update.
3. At the top of your screen, you will first see ONE tab. To Add more TABs click on the + the TAB name will open enabling you to add in a name. I.E New Arrivals, Dresses, Tops etc. Press enter on your keyboard once you have typed in the name. This will save the name.
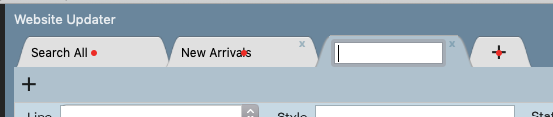
Note: If you ever need to rename your TAB, right click and select Edit Description as shown below

4. The next step is to load products into these Tabs.
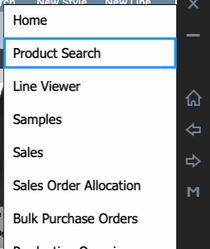
Click on the left arrow and select Product Search. In this screen, locate the collection you want to publish online.
5. After you have select your line, click on a style to select it. Now hold your mouse over this style and drag this into the Website Updater on the opposite side of the screen.
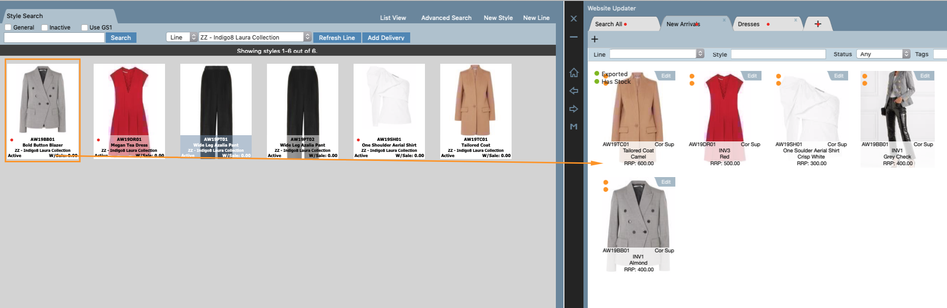
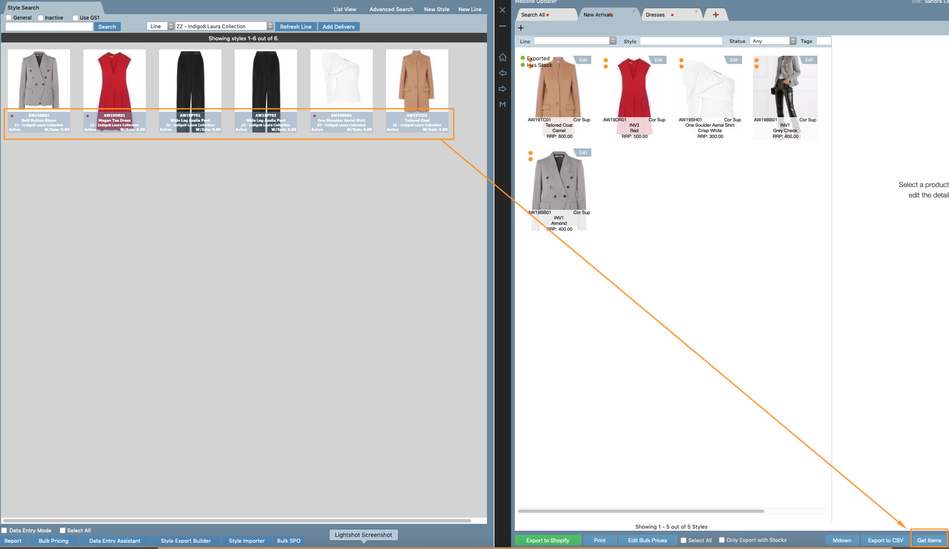
Another way to load you product is to highlight each one by clicking on it (the style will be highlighted in a transparent blue colour as seen below). Use the 'Get Item's button at the bottom of the Website Updater screen on your right as highlighed below. This will populate all selected styles into the website updater.
You can now load all your products into the different tabs you have created.
6. The next step is to add in all your information into each style.
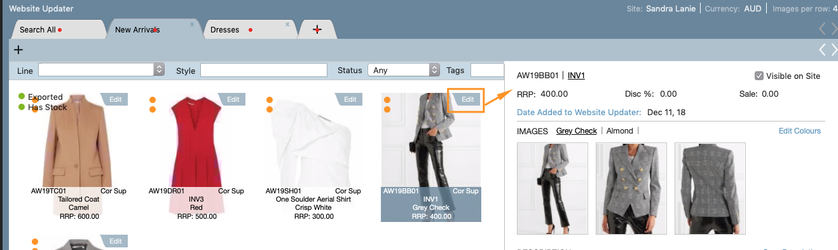
i. Click on EDIT (top right corner of the style) and the right side of the screen will populate.
ii. The RRP will automatically load if you have added this into the Product Search screen.
iii. Next you will need to drag and drop your images from your computer file into the image section, see below example.
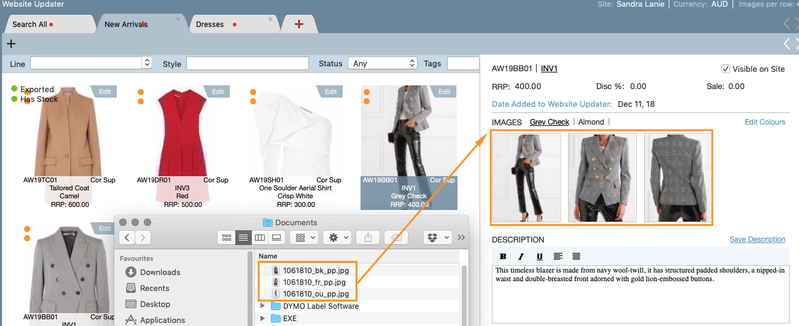
iv. Fill in your product description into the text box as below.

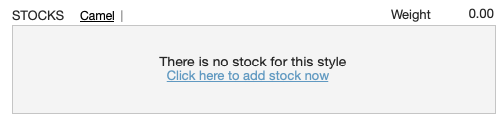
v. Stocks - By clicking on the colours i.e Grey Check: the stock levels linked to the style and warehouse will appear. See below example.

If no stock has been entered into the Warehouse for this style, you will also be able to add it in this screen. Click on the hyperlink 'Click here to add stock now'.
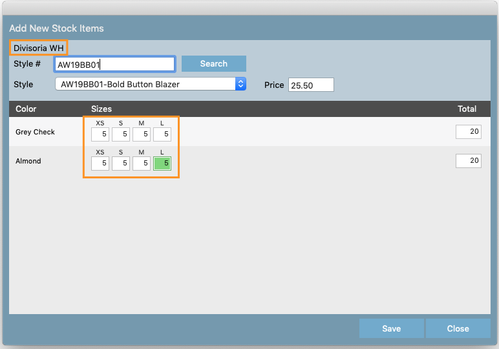
A new pop up screen will appear. This screen will advise you the warehouse you are adding the stock into (highlighted in orange below), the Style Number, Style Description and the Price/value of a single unit.
Add in your new stock levels into the cells as highlighted below and SAVE
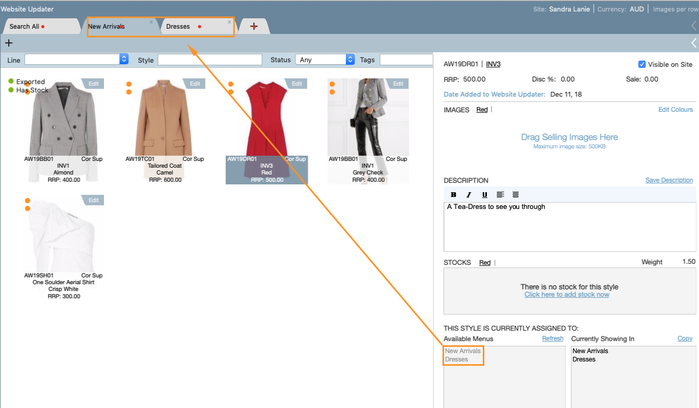
vi. The next section is the Available Menu. These menu's are populated from the Tabs you have created at the top of the screen.
The 'Currently Showing In' text box will show what menu the product will appear on, in your website. You can amend this by dragging the Available Menu item into Currently Showing In.
For more information on how to export to Shopify and Woo Commerce please see related articles
Entering Style Information to be Exported to Shopify
Exporting Products to Woo Commerce