Re-doing or Cancelling an Existing Purchase Order
Typically, this would occur in the following situations:
- If you need to include newly created sales orders which have not been allocated and consolidated to your existing purchase order
- If you need to cancel the purchase order and start again
Step-by-step guide
How to allocate newly created sales orders to an existing purchase order
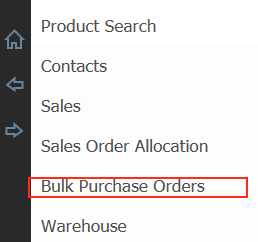
1. Click one of the arrows and select Bulk Purchase Orders
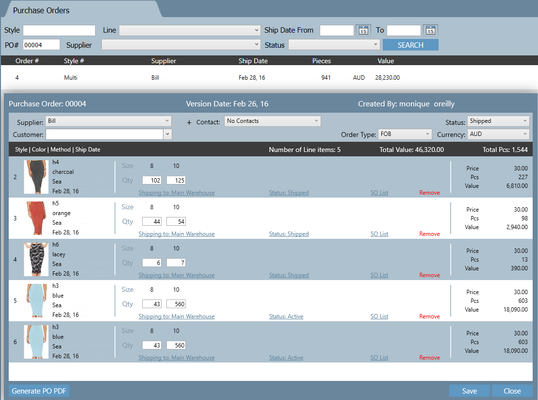
2. Search for your purchase order and double click it on it for it to open
If you need to go over this process, please refer to the article How to Search Purchase Order for more information.
3. Once the purchase order is opened, click the red button called Remove located on the style that you wish to re-do.
Please note, once you click this button, the style will be removed from the purchase order which you will be able to retrieve in another section detailed in the next step.
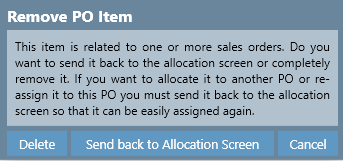
4. A pop up window will open. Send back to Allocation Screen if you want to put that style on a PO at some stage in the future. If you don't think the style will ever be made, and ultimately never put on a PO again, click delete
5. You will notice that the style has been removed from the purchase order.
Repeat step 3 if you wish to re-do more styles.
Once the styles have been removed from the purchase order, please go back into the Sales Order Allocation module.
6. On the Sales Order Allocation screen, search for the given styles that you wish to add to the existing purchase order.
Place ticks in the boxes.
7. Once you have made your required search click the Create PO button.
8. A pop out window will open. Enter or adjust the purchase order information for the given style selection.
The mandatory fields that need to be adjusted are:
- Delivery to
- Currency
- Ship Date
- Order Type
- Buy Price
- Style quantities
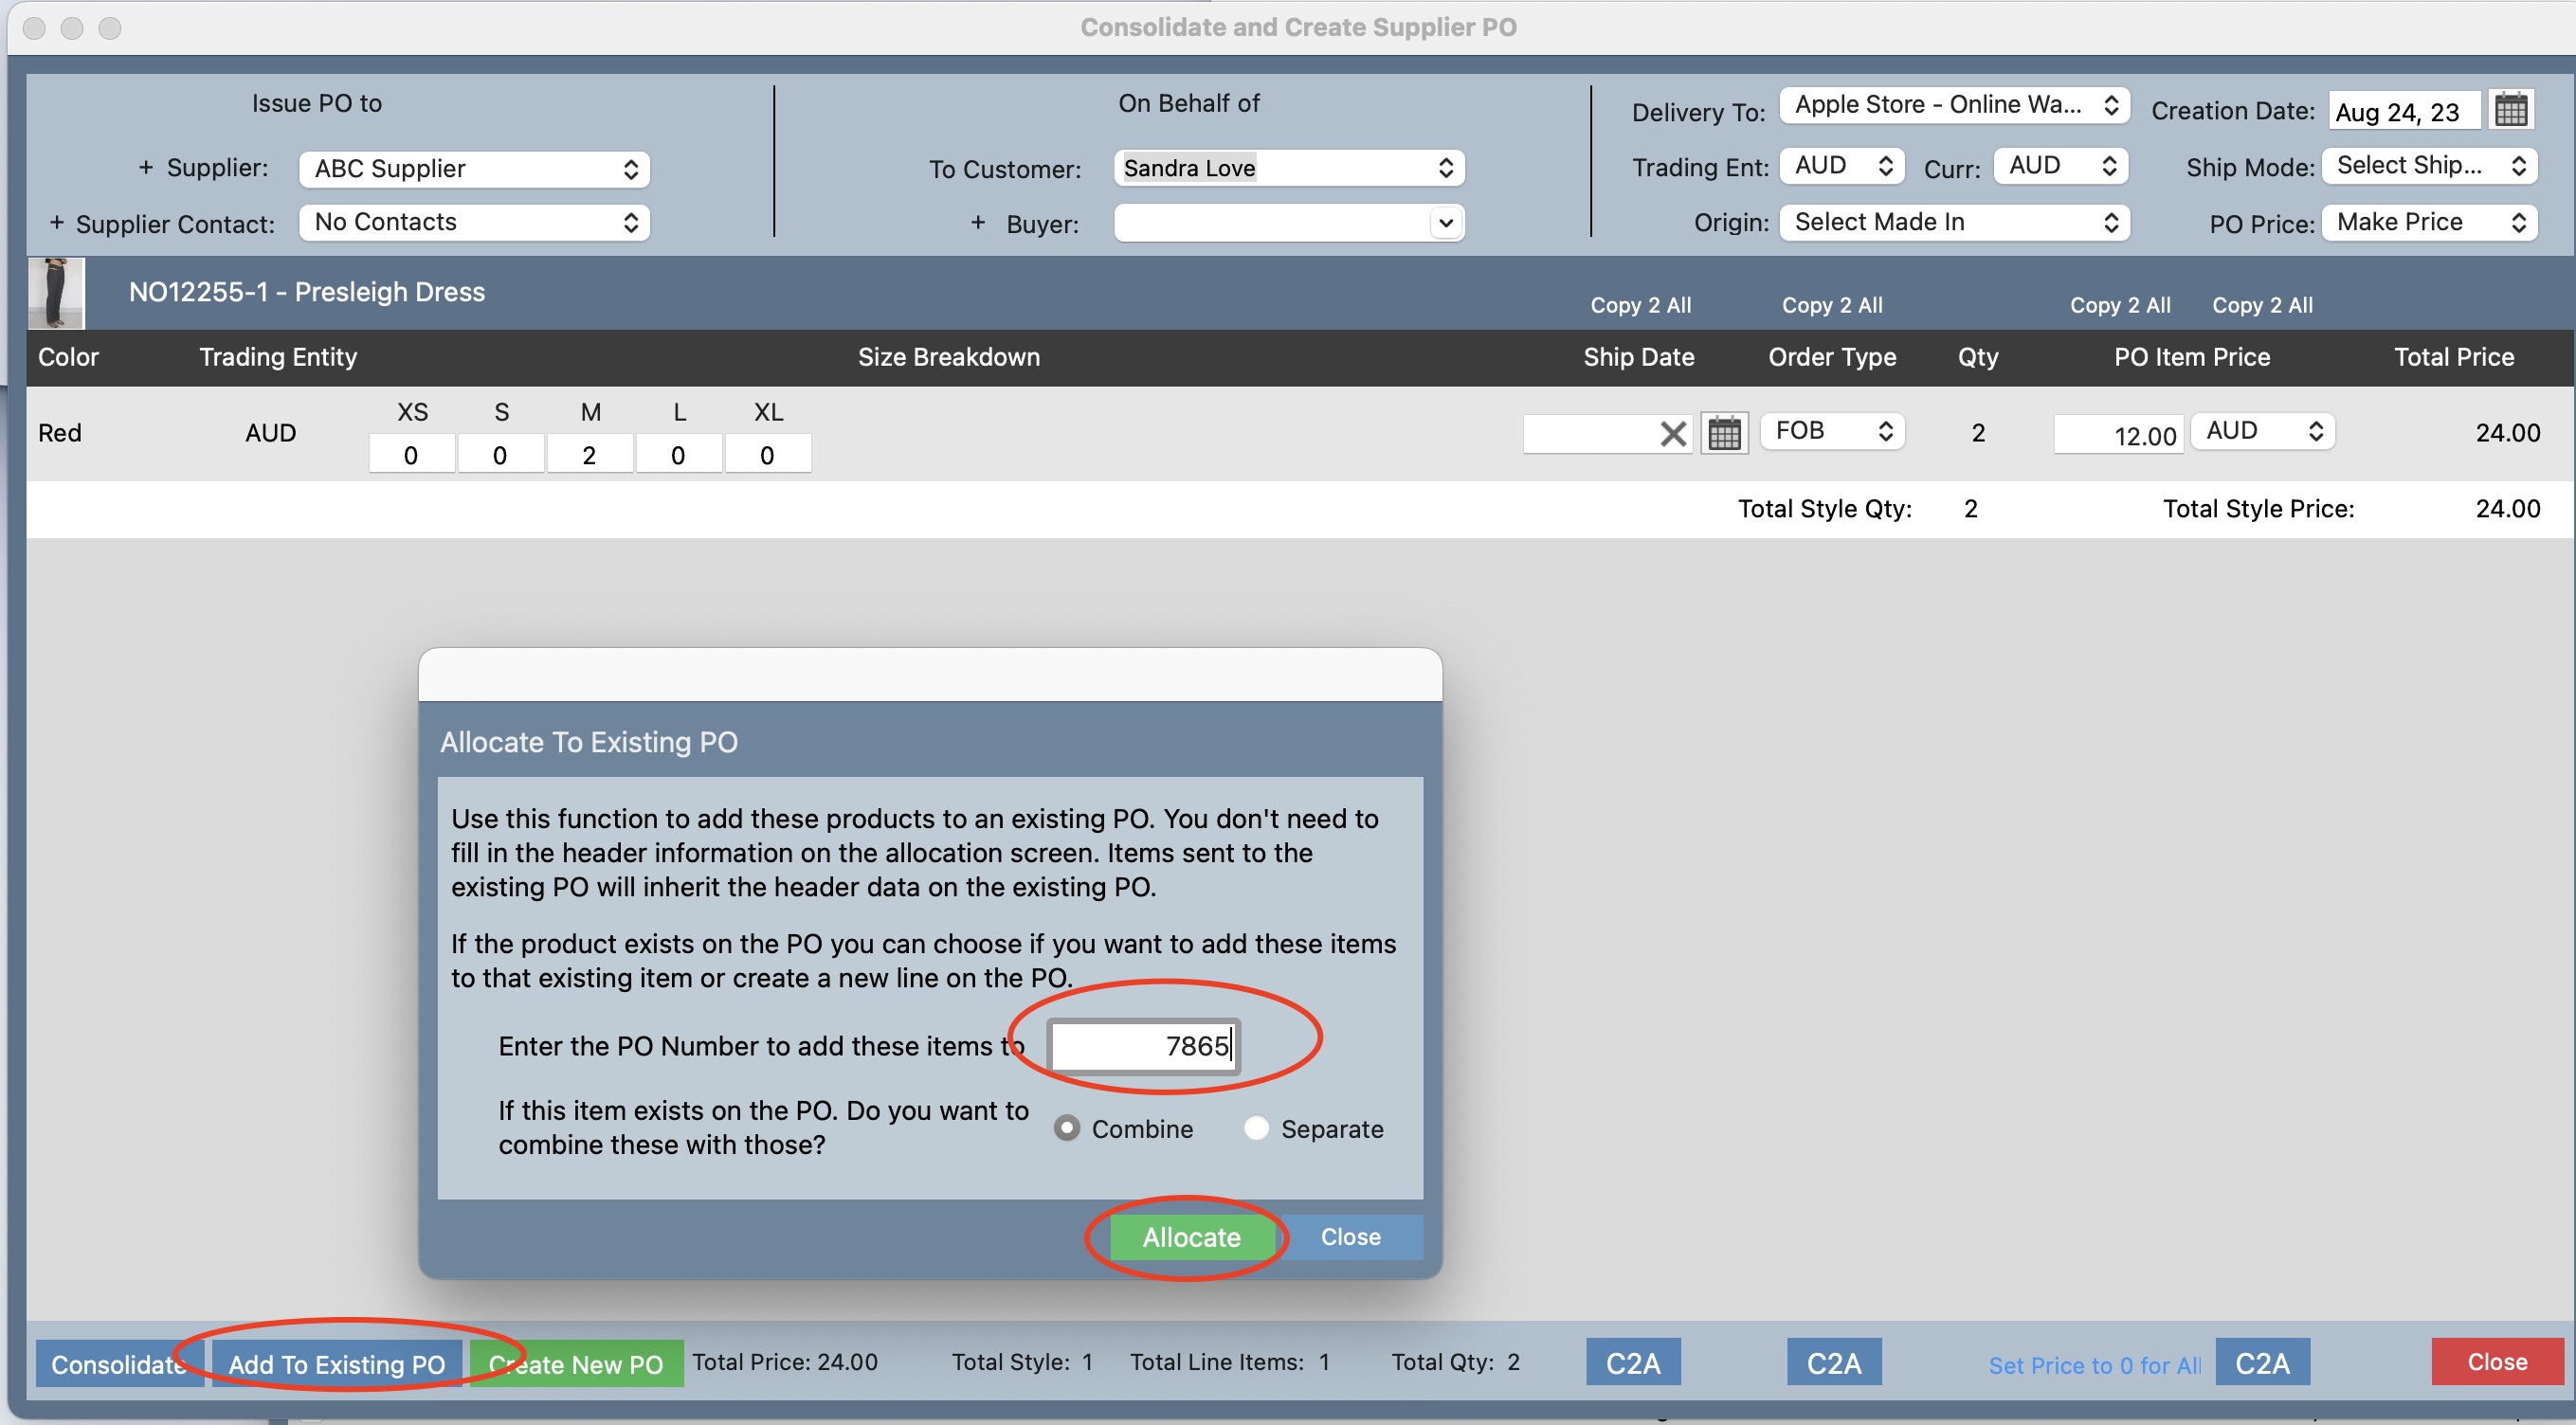
8. Next, type the purchase order number (for which you wish to add the styles to) in the white box.
Then click Add to Existing PO button.
Please note, if your existing purchase order number is CH07865 you may simply enter 7865.
Click Allocate and Combine. Combine is best used if there is an item already on the PO and you want to consolidate the quantities together. If you click Seperate it will create 2 seperate lines on the PO.
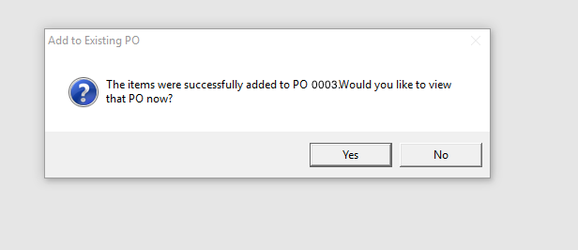
9. A pop-up message will appear. Click Yes if you wish to confirm your selection otherwise click No to cancel.
10. After your selection has been made your purchase order will appear for you to review. If the changes made are correct click the Generate PO PDF button bottom left of the screen.
Your purchase order would have been generated and ready to be sent to your supplier.
How to cancel a purchase order
1. Open up the purchase order which you would like to cancel. (from the bulk purchase order screen)
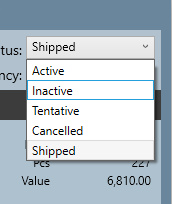
2. Once the purchase order is opened, on the top right corner you will notice your purchase order has the status of Active. This means that the purchase has just been created and is ready to be verified or arrived into your warehouse.
Click on the drop down and select Inactive. When this is selected your purchase order will not appear on your Bulk Purchase Order screen and in your reports.
The system will still allow you to search for inactive purchase orders however it will not be visible in most areas of the system.
3. Click Save at the bottom of the screen.
4. Go back to Bulk Purchase Order module and click search to confirm your purchase order has been removed.
