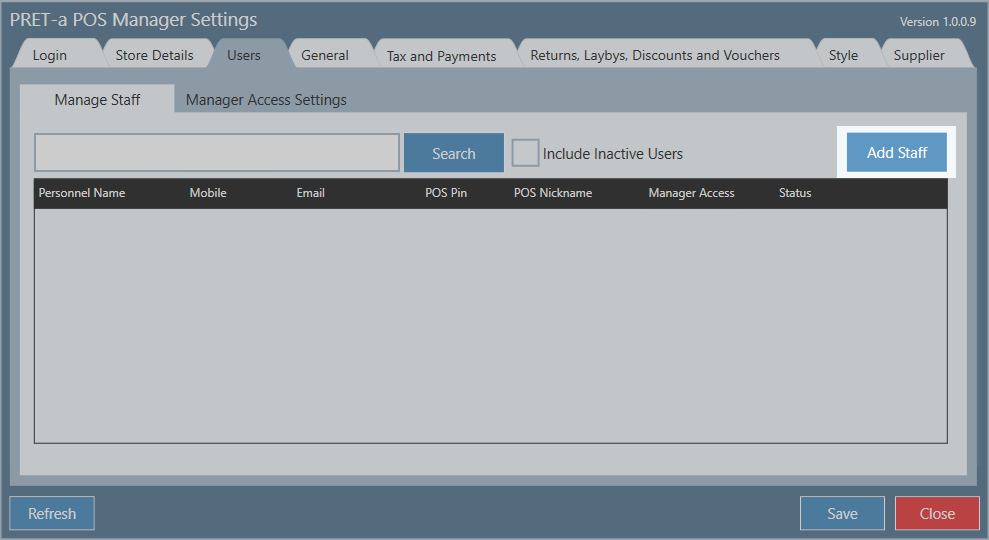
When you first enter the Users tab, there will be no staff added. Usually people add at least one manager and a few staff members when they setup Pret-a Pos, and return to these settings later to add more.
Step-by-step guide
Add User
1. Click Add Personnel
2.The Edit POS Personnel window will open. Fill in the staff member's details, ensuring all fields marks with a red asterisks are completed.
Important
By ticking the manager box, you are allowing the staff member to add users, set discounts and manage main settings.
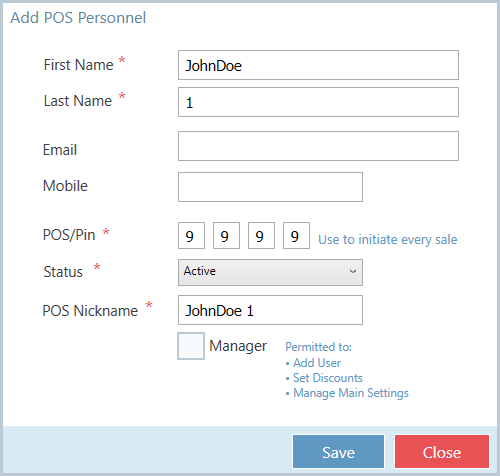
3. Click Save
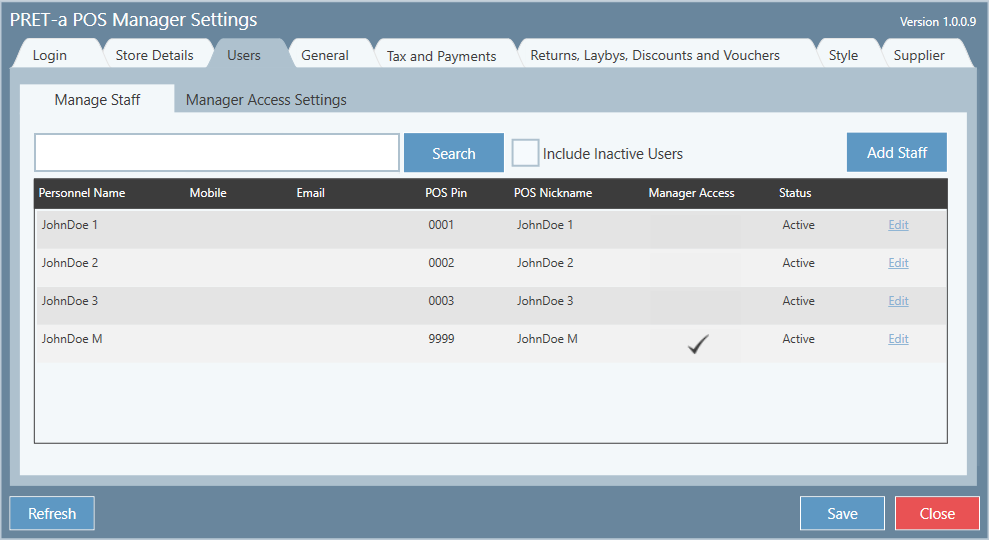
4. Repeat the process until you're satisfied with the number of users you've added
Important
You will notice after you've added a user they will appear in the grid
Edit User Details
1. Click on the staff member's row in the grid
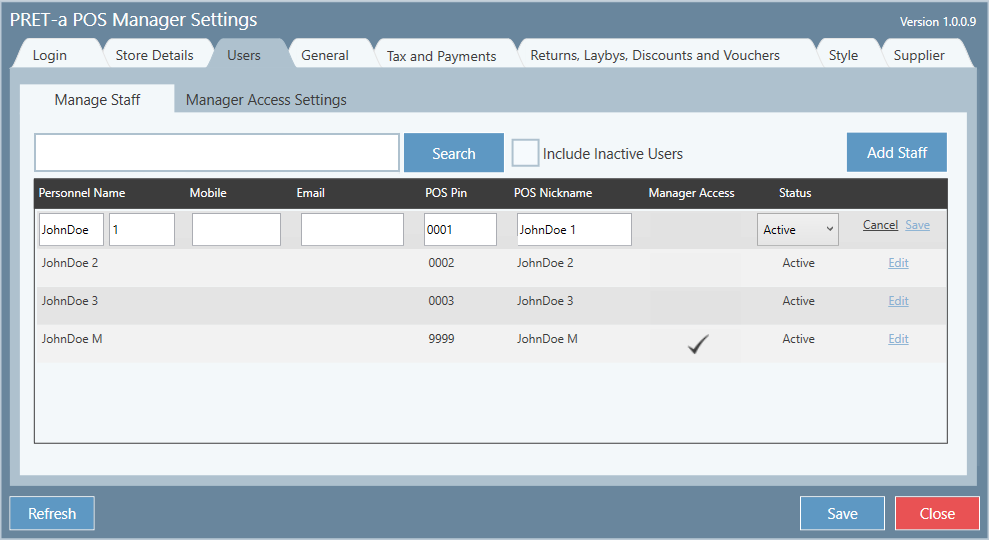
2. The Edit POS Personnel window will open, and you can edit the details.
3. Click Save
Inactivate a User
You may wish to inactivate a user if they no longer work for the store. This function enables you to keep a staff member's details on the system for future reference, but they will no longer be able to enter the system. It is not possible to delete a user.
1. Click on the staff member's row in the grid
2. The Edit POS Personnel window will open. Click on the Status drop down box and select Inactive

3. Click Save
4. The user will no longer appear on the grid

Retrieve Inactive User's Details
1. Tick the 'Include inactive users' box.
2. If there are multiple inactive users you may want to enter the first few letters of their name in the Search box. Click Search

3. You can see a staff member's details from the grid. If you want more information, click on the staff member's row and the Edit POS Personnel will open; revealing more details
Set Inactive User back to Active
1 Tick the 'Include inactive users' box
2. If there are multiple inactive users you may want to enter the first few letters of their name in the Search box. Click Search
3. Click on the row of the user you wish to set to active
4. The Edit POS Personnel window will open, select Active from the Status drop down box
5. Click Save
Related articles
Add Comment