...
Rule # 2: The file must have the .csv extension. When saving your file, select .csv Format from the drop down list before clicking Save.

2. Importing File
1. Click on the left arrow of the black navigation bar, and select contacts


2. Ensure you're within the Clients tab


4. A new window will open. Drag your contacts file into the panel on the left hand side of the screen, and automatically the names of each column will upload in that space.
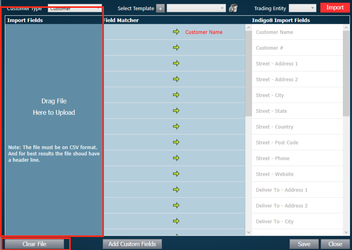
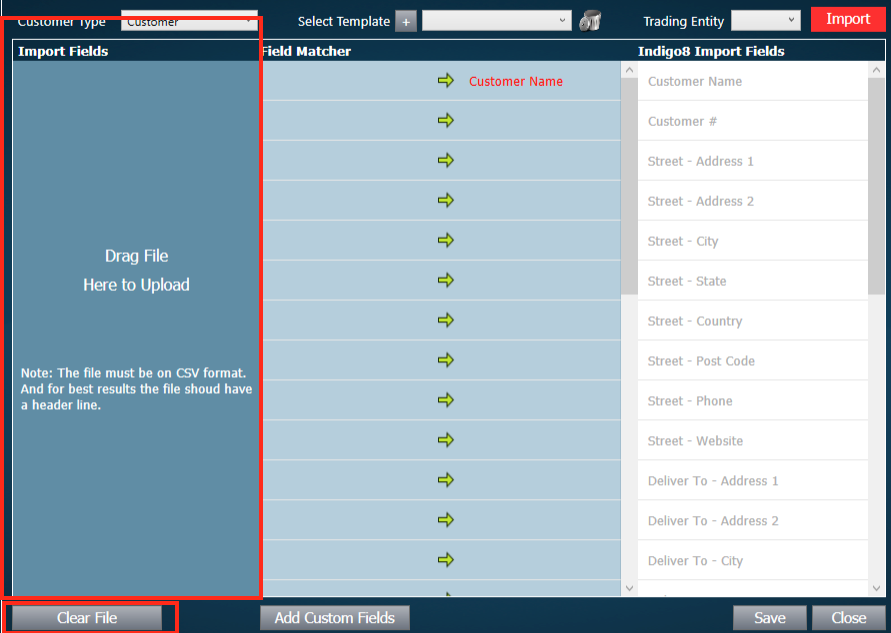

Before dragging the File After dragging the file
| Info |
|---|
If you have chosen the incorrect file, simply click Clear File button and drag the file on again. |
...
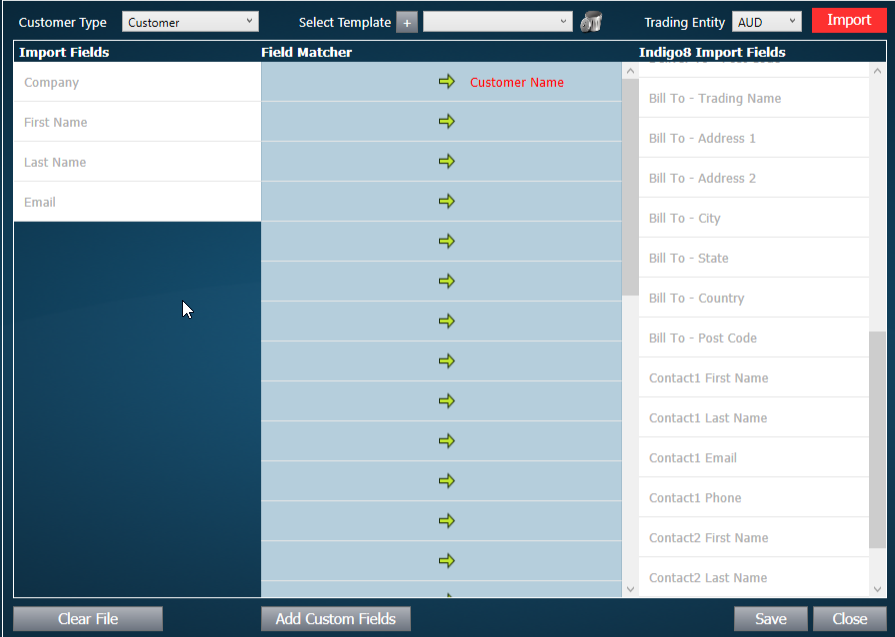
5. Next you need to drag the fields from the left panel into the middle panel. These should be on the left hand side of the arrow. Then drag the matching field from the right panel into the middle, to the right hand side of the arrow. For example, Company in my contacts file, would rightly be assigned to Customer Name in a Contact
...
8. If the import has been successful, the following window will open showing a summary of the customers that have been created
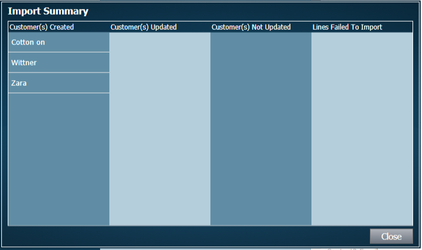
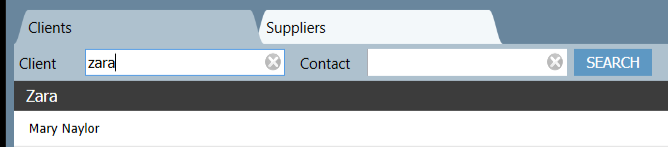
If you search for the new customer, you will see they have been created.
Defining what a template name is
...
| Page Properties | |||
|---|---|---|---|
| |||
|