...
1.Click a menu arrow and choose "ContactsCustomers & Returns"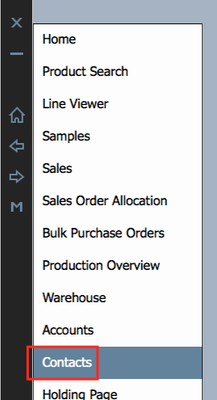
2. Choose either the CLIENTS or SUPPLIERS
Select ADD CLIENT to add your customer
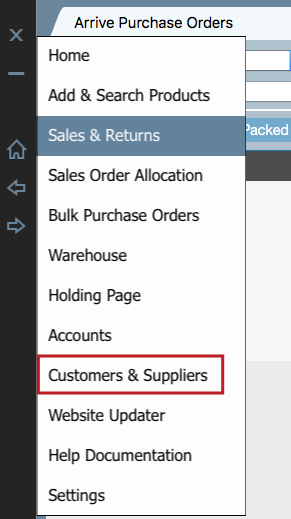


Select ADD SUPPLIER to add your supplier.


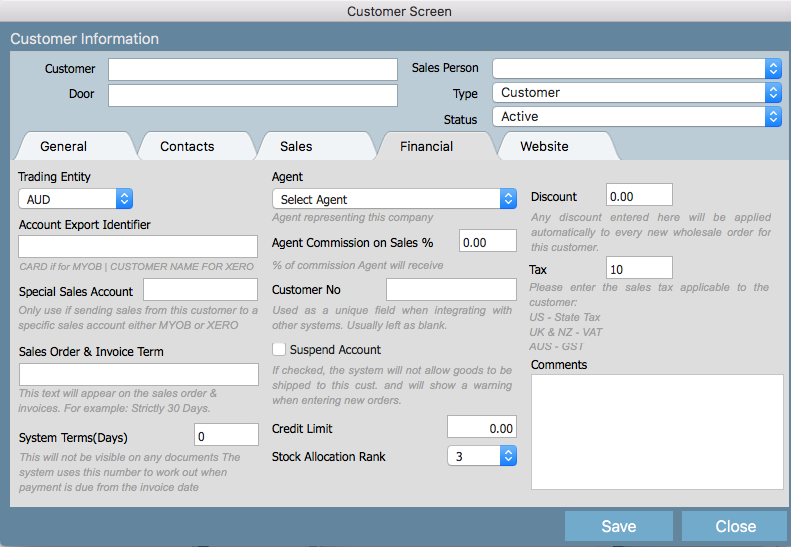
3. To Create a customer you only need to fill in the customer name at the top left.
Please find below the definitions of some of the less obvious fields.
Sales Person - If this customer has a designated sales person assigned to it then select them from the drop down. Then
every time a sale is created this sales person will automatically be assigned to the sale.
Type - The system allows you to have different types of customers being;
...
POS (if you use our Point of Sale retail solution "Pret-a Pos" you create and manage stores using this feature.
For more information on this search on Setting up POS or visit the Pret-a Pos website @ pretapos.com ).
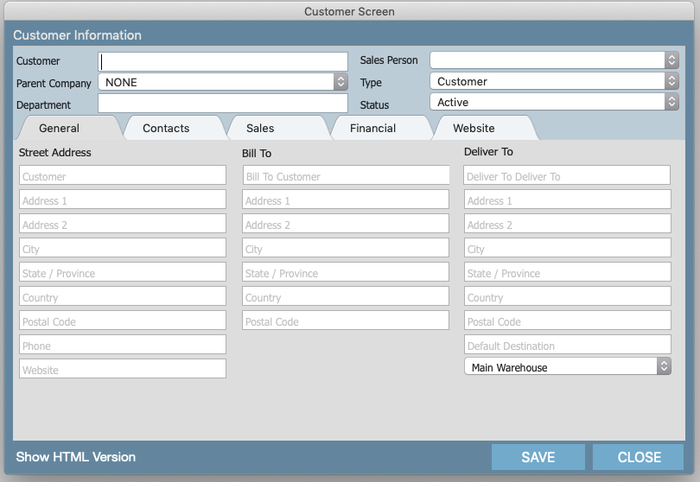
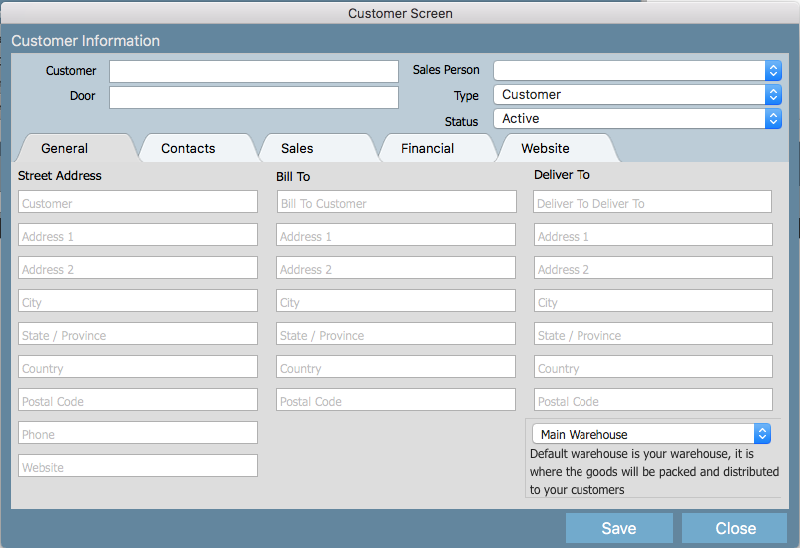
General Tab
Street address - is the physical location of the customer
Bill To - is the address where invoices can be sent
Deliver To - Is the address where products will be shipped for this customer
...
Customer Approved - Customers need to be approved (by your accounts team) before any orders can be placed. Please tick this box and save.
Related articles
...