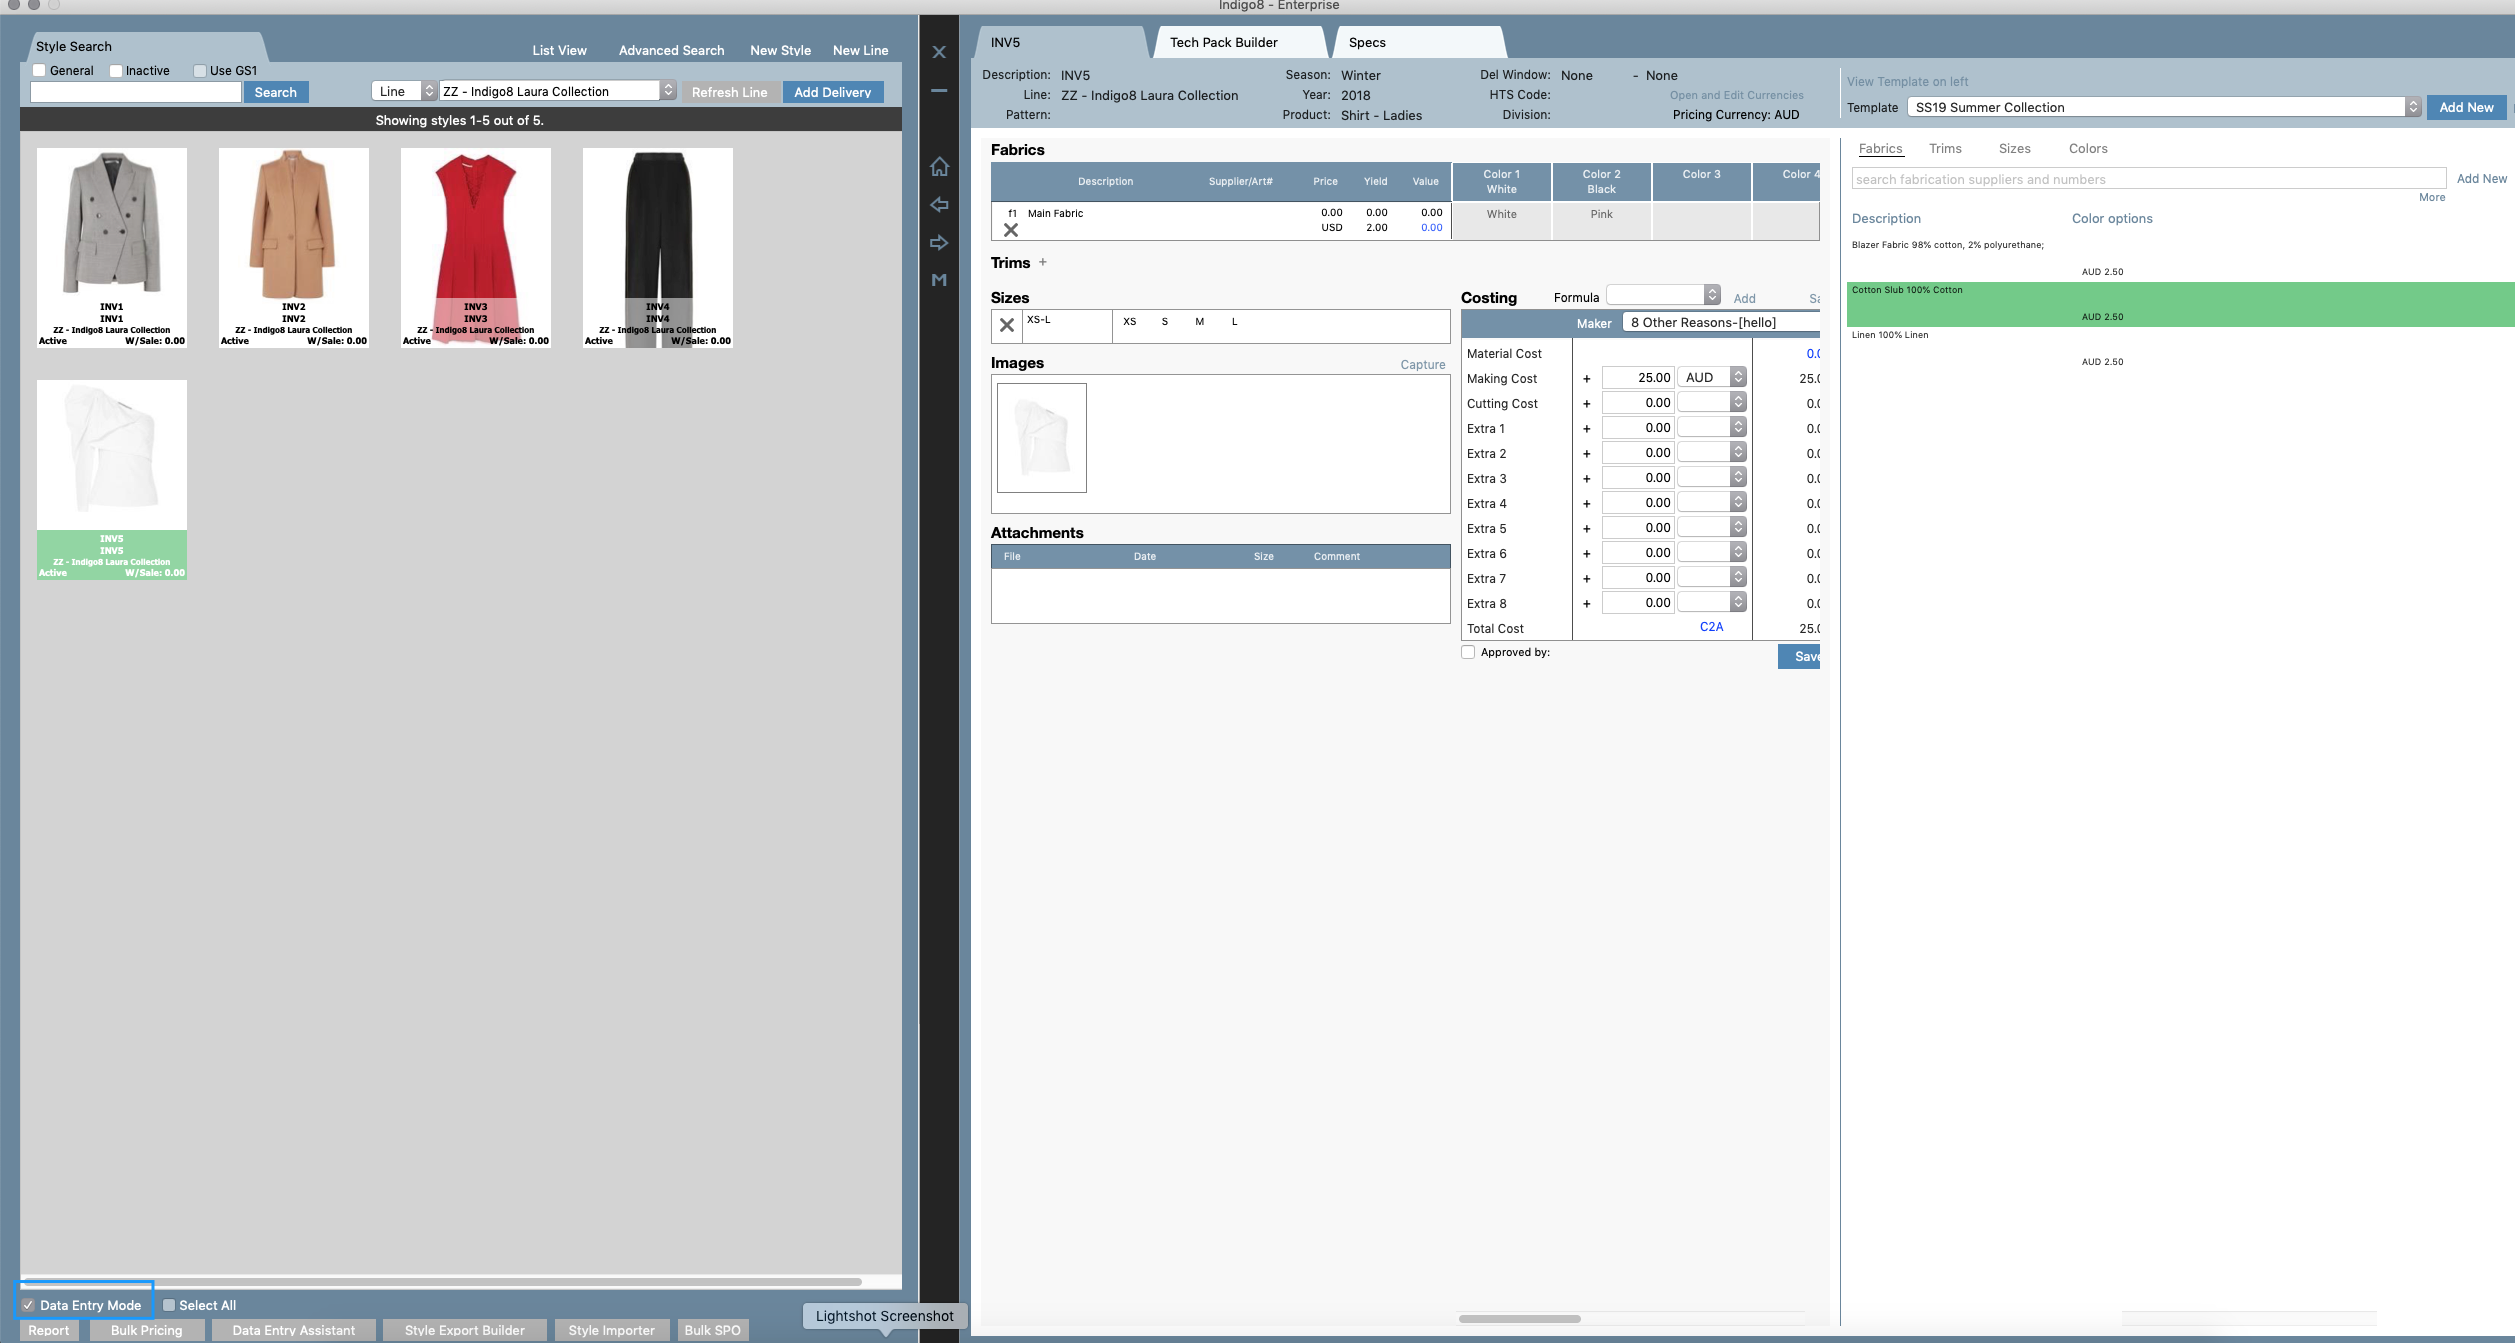
Data Entry Mode is used to input the fabrics, trims, colours, sizing and costings of a garment in one easy to navigate screen.
...
To find the Data Entry Mode, open the product searchsearch, tick ‘Data Entry Mode’ at the bottom of the page.
The opposite side of your screen will populate with the data entry screen. You will then be prompted to select a style.

How to add Fabrics against your style
...
3. Below is how it will look once the fabric is dragged across.
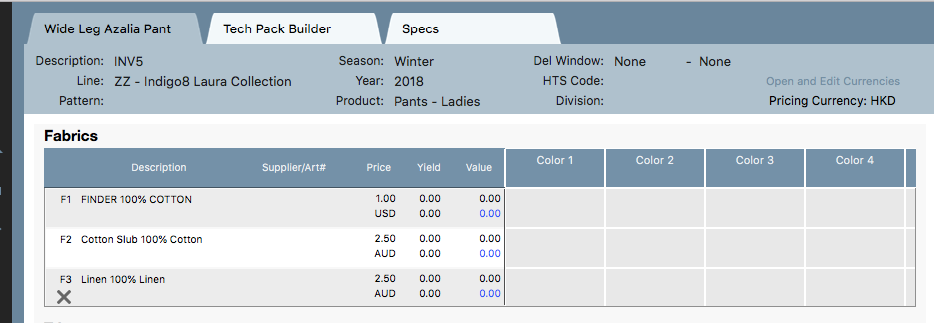
You can add many fabrics against a style. Below is an example of how it looks when there are 3 fabrics against a style.
You can click the X at the bottom of F3 to remove the fabric if required.
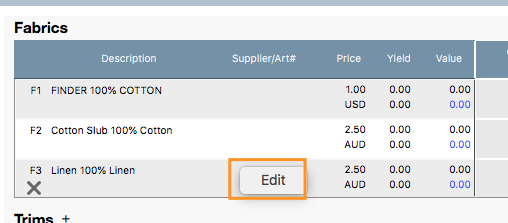
How to Edit a Fabric
If you need to edit the fabric slightly all you need to do is right click the fabric and click Edit.
Then the below pop up will appear so you can edit your fabric. Hit Save once done.

How to add Trims against your style
Ensure that your style is opened on Data Entry Mode.
Following the same steps for dragging Fabrics across, select your template and then select the Trims tab. Locate your trim and drag that directly under the Trims heading.
There is no limit to how many trims you can drag against a style. 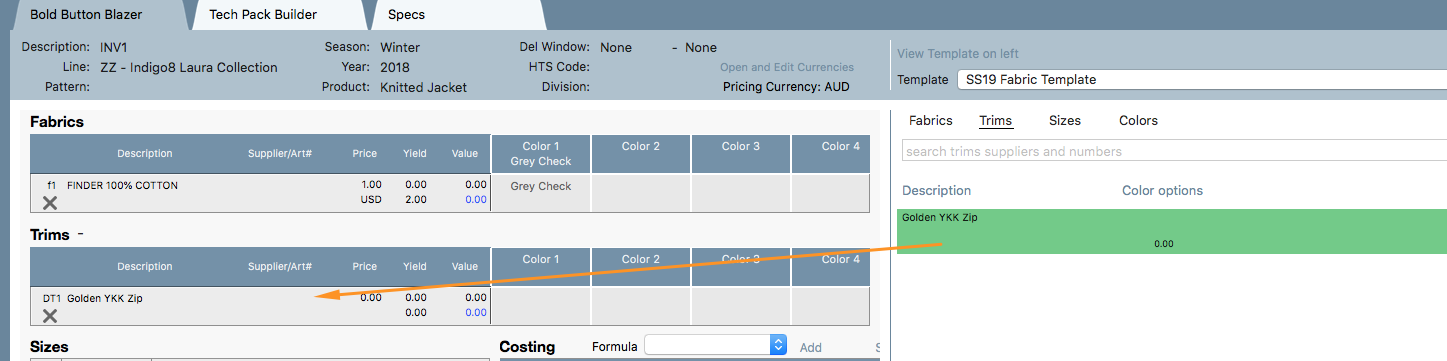
How to Edit a Trim
If you need to edit the trim slightly all you need to do is right click the fabric and click Edit.

Then the below pop up will appear so you can edit your trim. Hit Save once done. 
How to Swap the trim position
Simply select the trim and drag it in the position that you want.
In this example, if you select DT2 and drag that on top of DT1 it will automatically be placed in position 1.
...
You can see that the appropriate trim has been dragged. There is no extra saving that you need to do, this is saved on the fly.

How to add colours Colours against your style
1. Select the Colour tab on the far right hand side.
...
3. Locate your colour and drag that against position required. In this case we will drag this under colour 2.
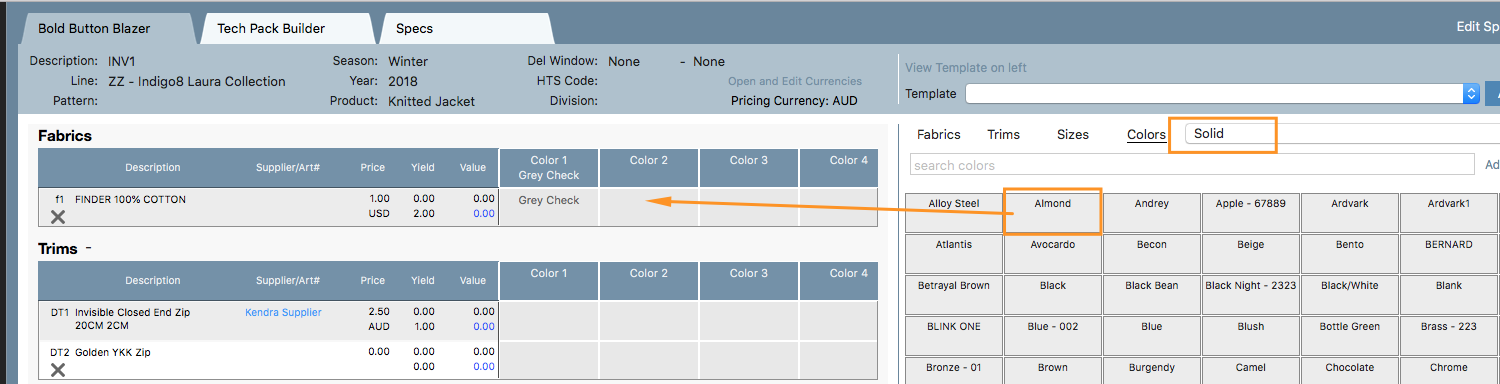
In the this given example you can see there are 2 colour-ways against the style.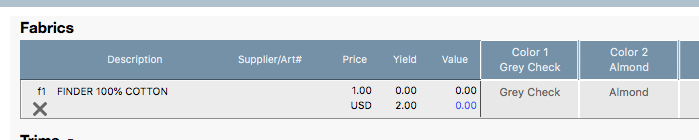
...
Description: This is the style name or the name given to your style.
Line: This is the collection the style belongs to.
Pattern: This is not a mandatory field but indicates the Pattern # that is used as reference for your Pattern Maker
Season: This is the season the style belongs to
Year: This is year the style belongs to
Product: This is the product category the style belongs to
Del Window: This is the delivery window the style belongs to . The date entered here will automatically appear against the sales orders.
HTS Code: (Stands for Harmonized Tariff Schedule) codes are product classification codes between 7-10 digits. The first six digits are an HS code, and the countries of import assign the subsequent digits to provide additional classification.
Division: This is the brand the style belongs to.
...