...
A pop out window will open when you either: a a) Click on New Style button  or, b) double click on a style
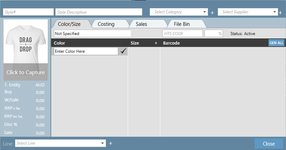
...
Style Identifying Information
1. Begin by working from the top, left to right. Enter Style# (mandatory) can be numbers or letters or both, Style Description (optional), Category (optional) and Supplier (optional).
| Info |
|---|
ImportantYou MUST enter a style ID. The system will prevent you entering some details about the style until the a style ID is added |
...
There are two ways to add an image: Drag n Drop OR Click to capture
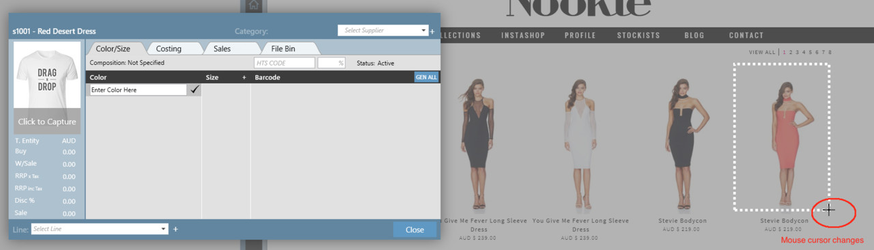
Click to Capture involves clicking on the writing Click to Capture you will notice your mouse pointer changes. Go to the image you want to select, click on the top left hand corner and drag to create a box around the image. It will upload automatically to the style.
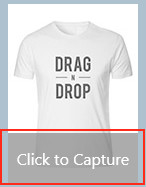
Click to Capture button Selecting the Reference Image After selecting the Reference Image
| Info |
|---|
ImportantIt's important to have the window open that contains the image you want to select PRIOR to clicking Click to Capture. You won't be able to move windows after clicking the button. |
2. Drag n Drop involves clicking on the desired image in another window and dragging it onto the image in the Style box.
| Info |
|---|
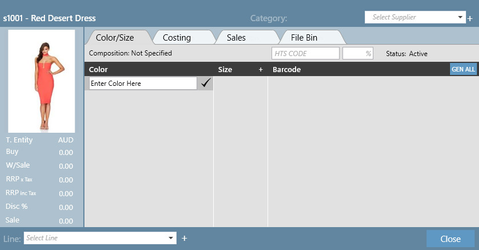
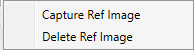
ImportantIf you want to delete or change the image, right click on the image and you will be given both those options: |
...
3. A pop up window will open allowing you to choose from an existing size range. Click on the range you want. If the size range you are after isn't in the list, click the  button. A pop up window will open. Enter a title for the size range (usually the smallest size to the highest size e.g. 6-14) then click the + button to add the individual sizes within the range and when you're finished click Add button.
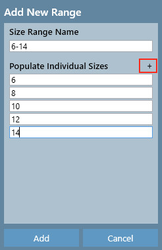
...
| Info |
|---|
ImportantColor and size are mandatory fields. You will not be able to put a style on a sales order unless it has a color and size assigned to it. |
...
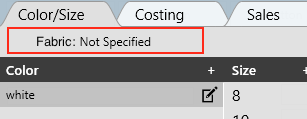
4. Complete the remainder of the colour/size tab. These fields are not mandatory.
To assign a fabric to the style, click on Fabric and you can type a fabric in the field, click Enter/Return key on your keyboard.
To generate barcodes for the style, read the article Applying GS1 Barodes to Styles
Apply a HTS (Harmonised Tariff Schedule) code to a style by typing in the box HTS code and the percentage in the following box
To change the status of the style to inactive click on the word active and a drop down will appear where you can select inactive. For more information about setting fields to inactive read Deleting and Removing Information from the System

Click the Costings Tab
Costing Tab (not mandatory)
Click on a dollar value ($0.00), and a white box will appear. Enter the figure. Hit Enter/Return key on your keyboard
...
| Info |
|---|
ImportantYou can choose to enter the information in either the blue panel on the left, or in the grey area. The values will appear in both once entered. |
| Info | |
|---|---|
| title | ImportantThe value of tax is unable to be changed in this window. You will need to go to Settings and then the Finance tab, Trading entity tab and edit the value in Sales Tax. For example, if you are an Australian user you will want to set this to 10 because GST of 10% needs to be applied. |
...
The remaining two tabs are Sales and File Bin. Sales will show you a table of the sales orders that exist for this style. File bin is a place where you can save files against the style, for example, a document containing style notes.
Related articles
| Filter by label (Content by label) | ||||||||||
|---|---|---|---|---|---|---|---|---|---|---|
|
...
|
| Page Properties | ||
|---|---|---|
| ||
|