How to issue a Refund
This section will detail the steps required to issue a refund. There are 2 steps involved in issue a refund, one is via Shopify and the other through Indigo8.
The Shopify process involves issuing the refund on the actual payments, while the Indigo8 process is stock control and account management.
Step-by-step guide
Part 1 - Indigo8 to manage stock control and credit note payments
- In Glass, in the Sales module click the RETURN button.
- Select the website customer name such as "Grass Bred Website" if your website was called Grass Bred & the appropriate attention name. This is the customer's name.
- Enter the quantity in which is being return, SEND RETURNS TO, and the RETURN REASONS. Please note, if you do not want to send the stock back it is recommended that you create a faulty warehouse. Otherwise, select BLANK on the SEND RETURNS TO drop down.
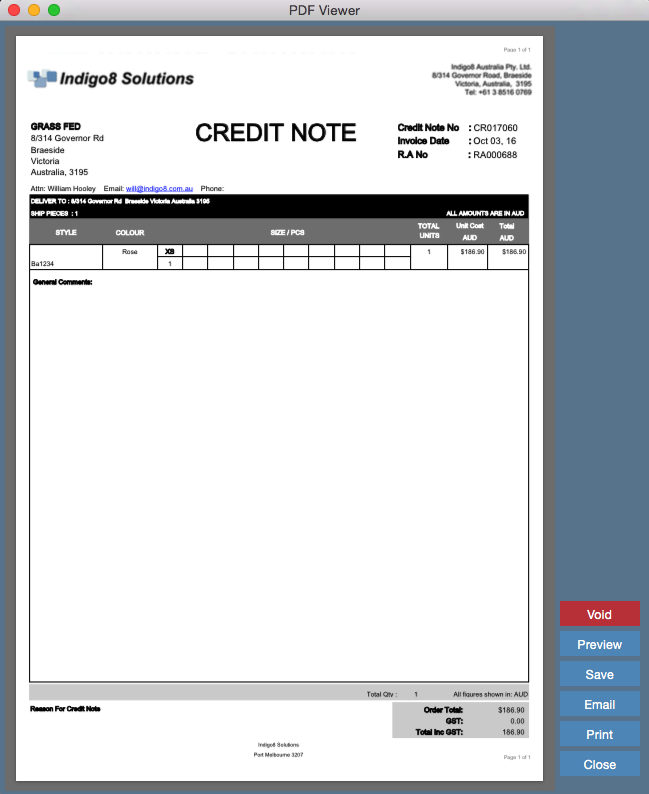
- Once done save the RA PDF and email to customer. Typically they would attach the RA to the parcel in which they are sending it back. This is optional however recommended.
- Click GENERATE CREDIT NOTE. At the point of generating the credit note, the stock is taken out of the warehouse.
- -- TO BE CONFIRMED
The very last step required is paying the refund in the system in Indigo8. If you can imagine that your original order has been paid for and now you have an RA which has not been paid.
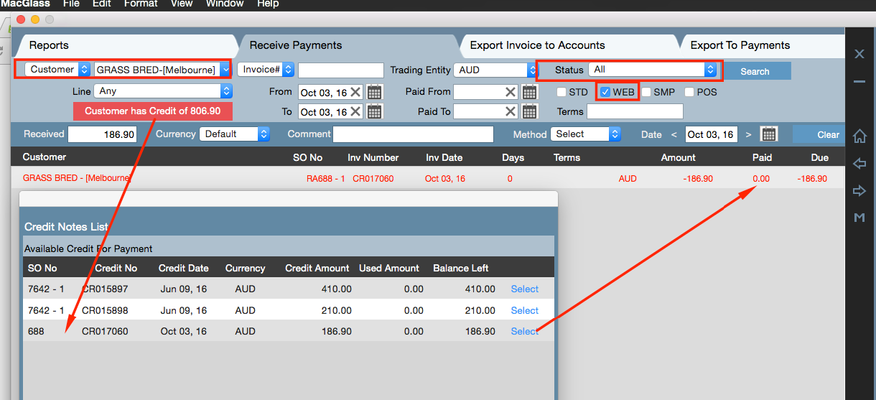
From an accounting point of view you will need to pay the RA with the credit note value to make the overall order is balanced.- Go into ACCOUNTS >> Click into RECIEVE PAYMENTS
- Enter the website company name >> Enter the FROM and TO dates in so you can narrow down you search >> Make sure status is set to ALL
- Click on the red button CUSTOMER HAS CREDIT OF. Select the RA number and click the SELECT button. Place your cursor underneath the PAID.
- Once done, click APPLY PAYMENT at the bottom of the screen.
Part 2 - Refunding Shopify Payment
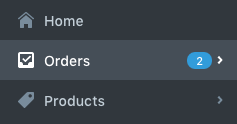
- Log into your Shopify account. Click the ORDERS tab.
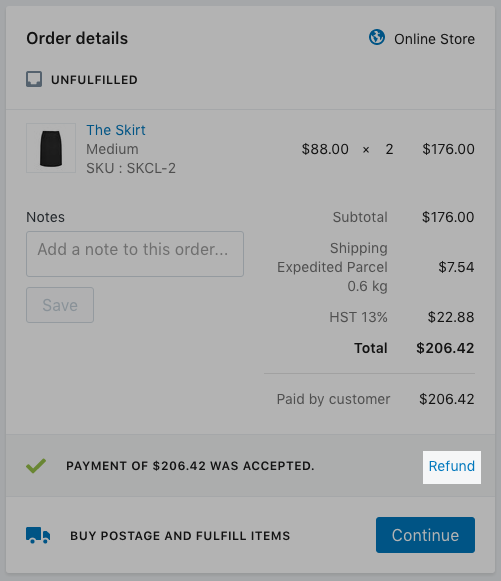
- Click on the number of the order you want to refund.
- In the Order details section, click Refund
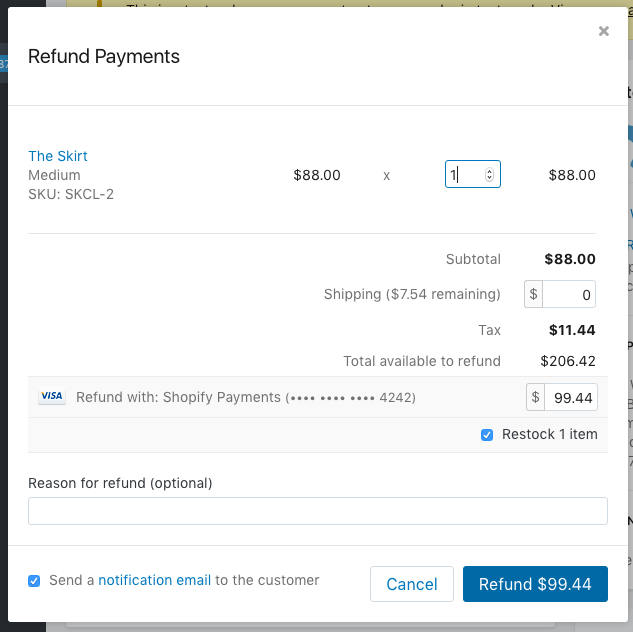
- In the Refund Payments dialog, enter the quantities of the items you want to refund. This updates the refund amount that appears in the Refund with section (not the Total available to refund), minus any shipping charges. You can manually edit this amount and add a refund for shipping charges
If you've shipped the items but your customer hasn't returned them yet, uncheck Restock items.
Please note, you wish to update the stock inventory you have the option to restock the 1 item automatically here. However, you do have the option to re-stock the item when issuing a credit note (which will need to be done for accounting purposes in Indigo8). When creating a credit note, you have the option to return the item to stock. Therefore you have the option of sending the stock back via Shopify or Indigo8.
If you do decide to send the stock back via Indigo8, on the daily inventory sych of the stock from your Shopify website to Indigo8, it will detect any changes made to stock and flush that through to Shopify.
If you don't want to send an email to your customer when you issue the refund, uncheck Send a notification email to the customer. This option is checked by default.
When you're done, click Refund to refund the customer's order. Shopify submit any refund to you make to your customer's bank immediately. They will then receive the funds from a refund in their account approx 5-10 business days after the original refund.