How to Invoice
You can invoice customers directly from the Sales order screen, or in bulk from the warehouse screen. When starting out it is a good idea to create them one by one from the sales order screen. This will make it easy to understand what is going on when you progress to creating up to 30 invoices at once using the warehouse screen.
Important
When creating invoices, inventory will automatically deduct from the warehouse. When creating Credit notes for returns. You have the option to return the goods to the warehouse.
Step-by-step guide
Creating Invoices from the Sales Order Screen
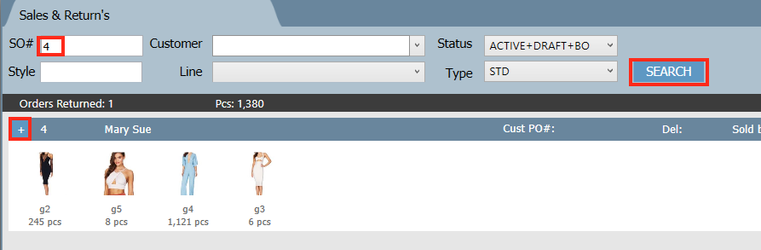
- Search the sales order you want to invoice. Click the + button to open it.
At the top of the screen you will notice there is an invoice tab. Click it and all the items that appear on the Sales order will appear on the invoice tab.

Important
Due to the nature of the garment industry, it is common to partially ship orders. Therefore the system allows you to create many invoices against one order. The system detects this and ask if you want to put the remaining items on back order.
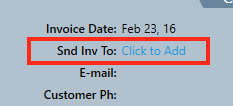
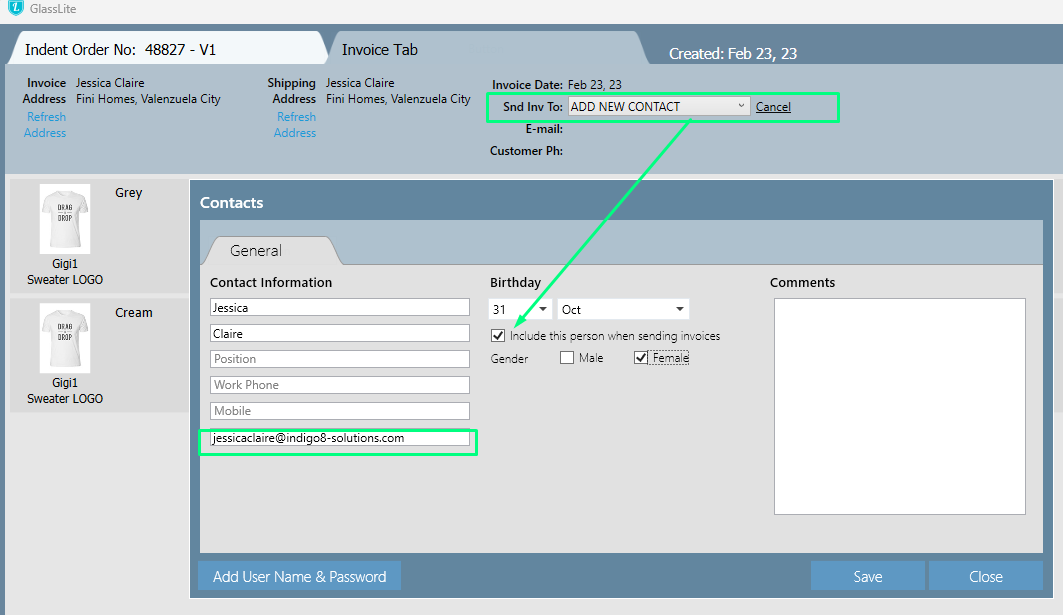
- The header of the Invoice Tab should have the customer invoice address and the SHIP TO address filled in. If you want to email out the invoices directly from the system then you also need to check that there is a contact with an email address.
- If the invoice address or ship to address is not there, then click on the customer, when you do the customer screen will appear, fill in the addresses and save then close the customer screen and click the refresh button.

- To add a contact who you will send the invoices to, click 'Click to Add' next to 'Snd Inv To', then click Add New Contact.
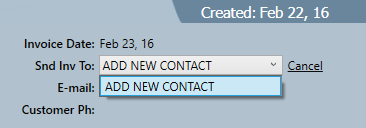
This will bring up the Add Contact screen for that customer. Make sure you tick the box that says Include this person when sending out invoices. Then, click Save.
Entering the Invoice Qty’s
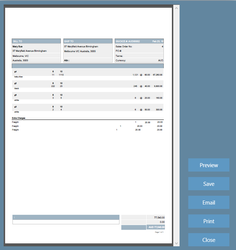
- For every item you will see there are three rows.
- Order Qty = The pieces ordered, as per the sales order
- Invoiced = the number of pieces already invoiced
- Packed = the number of pieces you are about to invoice. We use the word packed to symbolize the goods sitting in a box, ready to be send to the customer.

- Fill in the Packed Qty manually for each item, but it is much quicker to use the AUTO FILL buttons.
When AUTO FILLING there are a two main options- SO Qty – This will just load the number of pieces left to ship into the packed qty. If the customer ordered 8 pcs in size 8, then it will load 8 pieces in size 8. If 3 of those had been invoiced already, it would load 5.
- The Packed Qty, will only work if you have an integrated warehouse. And you use the warehouse to arrive a shipment. As part of the process you can ALLOCATE the received goods to the Sales Order’s This then becomes the ALLOCATED QTY.

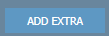
- If you need to add Freight to the invoice then press the ADD EXTRA button, and manually enter the amount.

- Press Generate invoice

- You will see the PDF viewer and the invoice will appear at the top right of screen.
Related articles