Add a New Style
This manual shows you how to add a single style manually.
Step-by-step guide
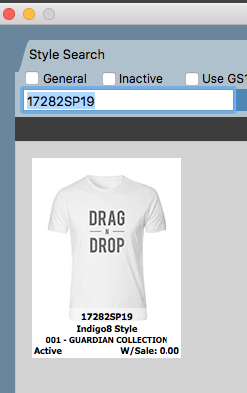
1. Select Product Search
2. Click New Style button at the top of the screen

3. You will get a new pop up appearing. Please fill in the relevant information.
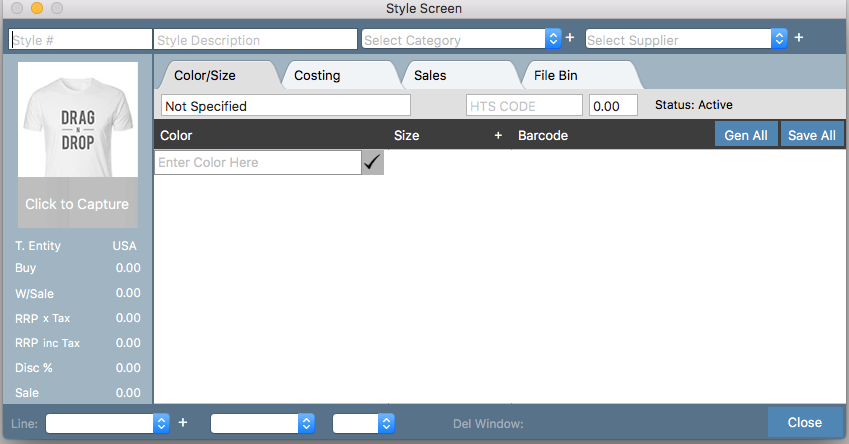
Fields explained:
Style Number: This is your style number
Style Description: This is the style description or the name given to the style
Line: Select the line or collection you would like the style to go in
Customer/Supplier: Select the customer or supplier for the style you are creating.
A customer is typically the brand is the creator of the goods, normally this is the business name such as MYER (if the style being created is specifically being designed for MYER).
A supplier is typically the brand of the goods as well. Normally you would use a supplier if you are entering third party products which you are not the creator of but a reseller.
For example if you are selling third party products, you would create a supplier called Converse if you are selling Converse shoes or JBRAND if you are selling JBRAND jeans.
Season: Select the season that the style applies to
Year: Select the year that the style applies to
Product: Select the product category the style applies to
Division: Select the division the style applies to. Normally this is the brand given to the style. If you system has multiple brands, then select the appropriate brand.
Designer: This is normally the person creating the product usually a merchandiser.
Add Default Fabric, colour & size: Normally you would de-select this option. This is a default setting that you will need an Indigo8 Member to help you set up. This allows you to have a default fabric, colour & size against your style so that you don't need to add it manually.
4. Once all fields are entered in you can select SAVE and it will automatically create your style.
Related articles